Blog Stone Maintenance Tips & Information
Project Profile - Travertine


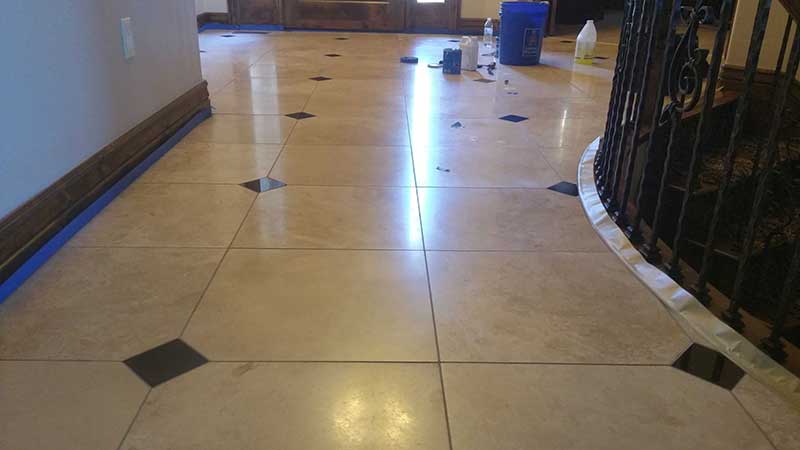
This project is one we completed in January of 2015 in Castle Pines. This project was very unique. There were three main areas that we had to address 1) the main entry 2) the kitchen and 3) the master bathroom.
The reason we were called by the homeowner in the first place is because a previous contractor (who was not a stone specialist) had applied a sealer to the floor promising a simple cheap fix to a dull floor. Now as the readers all of my customers know just sealing the floor cannot improve the appearance of a dull and worn floor. Regardless of the sealer and application method there is always multiple steps in preparation for sealer application. This contractor applied a sealer improperly and left a streaky blotchy appearance across the entire floor.


The first step was to remove all excess sealer. We do so using an abrasive honing powder instead of a harsh chemical stripping agent. This leaves the floor perfectly honed and ready for further diamond refinishing. And since we avoid using a chemical stripping agent the risk to the finish of surrounding surfaces, base boards wood floors etc, is minimal.
Once the old sealer is removed and the floor is honed we progress through our diamond refinishing process which leaves the floor with a satin finish in preparation for final polish. For this job we used a soft white pad and a acid polish compound that created the high gloss shine seen in the after pictures.


By Josh Huseby 8-5-2016